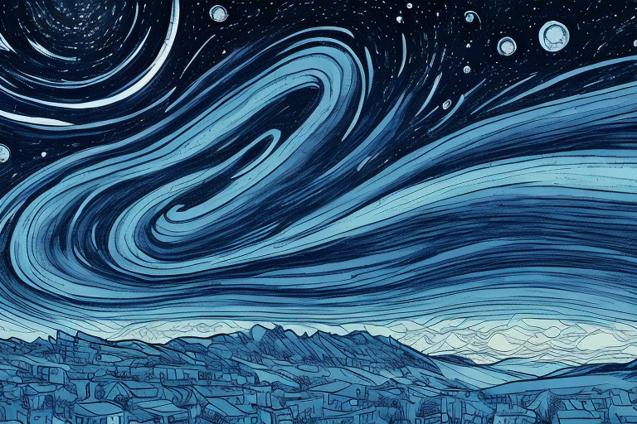
Capturing the beauty of the night sky while sailing is a rewarding hobby that allows you to document your adventures and showcase the magic of the stars. Learn how to photograph the night sky with this comprehensive guide.
How to Photograph the Night Sky While Sailing
Sailing the open seas with your family is an incredible experience, and one of the most magical aspects of this lifestyle is the opportunity to witness the beauty of the night sky. Far from the light pollution of cities and towns, the stars shine brighter and the constellations are more visible than ever before. Capturing these celestial wonders through photography can be a rewarding hobby and a fantastic way to document your sailing adventures.
In this comprehensive guide, we’ll cover everything you need to know about photographing the night sky while sailing, from the essential equipment to the best techniques and tips for capturing stunning images.
Table of Contents
- Essential Equipment
- Camera Settings and Techniques
- Planning Your Shoot
- Composition Tips
- Post-Processing Your Images
- Conclusion
Essential Equipment
Before you can begin photographing the night sky, you’ll need to gather some essential equipment. Here’s a list of the basic gear you’ll need to get started:
Camera
A DSLR or mirrorless camera with manual controls is ideal for astrophotography. These cameras allow you to adjust settings such as aperture, shutter speed, and ISO, which are crucial for capturing the best possible images of the night sky.
Wide-Angle Lens
A wide-angle lens is essential for capturing the vast expanse of the night sky. Look for a lens with a focal length of 14-24mm and a fast aperture (f/2.8 or lower) to allow as much light as possible to reach the camera sensor.
Tripod
A sturdy tripod is crucial for keeping your camera steady during long exposures. Look for a tripod with adjustable legs and a ball head for maximum flexibility and stability.
Remote Shutter Release
A remote shutter release allows you to trigger your camera’s shutter without physically touching the camera, reducing the risk of camera shake and blurry images.
Extra Batteries and Memory Cards
Long exposure photography can quickly drain your camera’s battery and fill up your memory cards. Be sure to pack extra batteries and memory cards to ensure you can capture as many images as possible during your shoot.
Camera Settings and Techniques
Now that you have your essential equipment, it’s time to learn about the camera settings and techniques that will help you capture stunning images of the night sky.
Manual Mode
To have full control over your camera settings, switch to manual mode (usually indicated by an “M” on your camera’s mode dial). This will allow you to adjust aperture, shutter speed, and ISO independently.
Aperture
A wide aperture (low f-number) is crucial for capturing as much light as possible. Set your lens to its widest aperture, typically f/2.8 or lower.
Shutter Speed
Long exposures are necessary to capture the faint light of stars and other celestial objects. Start with a shutter speed of 20-30 seconds and adjust as needed based on the brightness of the sky and the amount of star movement you want to capture.
ISO
A high ISO setting will increase the sensitivity of your camera’s sensor, allowing it to capture more light. Start with an ISO of 1600-3200 and adjust as needed based on the brightness of the sky and the amount of noise in your images.
Focus
Focusing on stars can be challenging, as your camera’s autofocus system may struggle to lock onto such small, faint objects. Switch to manual focus and use the live view feature on your camera to zoom in on a bright star. Adjust the focus ring on your lens until the star appears sharp and clear.
Image Stabilization
If your lens or camera has image stabilization, be sure to turn it off when using a tripod. Image stabilization can actually introduce camera shake when used on a stable surface.
Planning Your Shoot
To capture the best possible images of the night sky, it’s important to plan your shoot in advance. Here are some factors to consider when planning your astrophotography session:
Moon Phase
The brightness of the moon can significantly impact the visibility of stars and other celestial objects. Plan your shoot during a new moon or when the moon is below the horizon for the darkest skies and best conditions for astrophotography.
Weather
Clear skies are essential for capturing the night sky. Keep an eye on the weather forecast and plan your shoot for a night with minimal cloud cover.
Location
While sailing, you’ll have the advantage of being far from light pollution, but it’s still important to consider your location when planning your shoot. Try to position your boat in a location with minimal light from nearby boats or structures.
Time
The position of stars and constellations in the sky changes throughout the night and throughout the year. Use an app or website like Stellarium or SkySafari to plan your shoot around specific celestial events or the appearance of your favorite constellations.
Composition Tips
A well-composed image can make all the difference in astrophotography. Here are some tips for composing your night sky images:
Include Foreground Elements
Including a foreground element, such as your boat’s mast or a nearby island, can add depth and interest to your image. Experiment with different angles and perspectives to find the most visually appealing composition.
Rule of Thirds
The rule of thirds is a basic photography principle that suggests dividing your image into a 3x3 grid and placing your subject along the lines or at the intersections of the grid. This can create a more balanced and visually appealing composition.
Leading Lines
Use leading lines, such as the horizon or the edge of your boat, to draw the viewer’s eye into the image and towards the night sky.
Experiment with Star Trails
For a unique and dynamic image, try capturing star trails by using a very long exposure (several minutes) or by stacking multiple shorter exposures in post-processing. This will create streaks of light as the stars appear to move across the sky.
Post-Processing Your Images
Once you’ve captured your night sky images, some post-processing may be necessary to bring out the best in your photos. Here are some basic tips for editing your astrophotography images:
RAW Format
Shoot in RAW format to capture the most detail and have the most flexibility when editing your images.
Noise Reduction
High ISO settings can introduce noise into your images. Use noise reduction tools in your editing software to minimize this effect.
Adjust Exposure and Contrast
Adjust the exposure and contrast of your image to bring out the details in the stars and the night sky.
Enhance Colors
Adjust the white balance and saturation to enhance the colors of the stars and the sky.
Stack Images
For even more detail and reduced noise, try stacking multiple images of the same scene using software like DeepSkyStacker or Starry Landscape Stacker.
Conclusion
Photographing the night sky while sailing is a rewarding and fulfilling hobby that allows you to capture the beauty of the celestial wonders above. With the right equipment, camera settings, and techniques, you can create stunning images that document your sailing adventures and showcase the magic of the night sky. So grab your camera, set sail, and start exploring the cosmos through your lens!